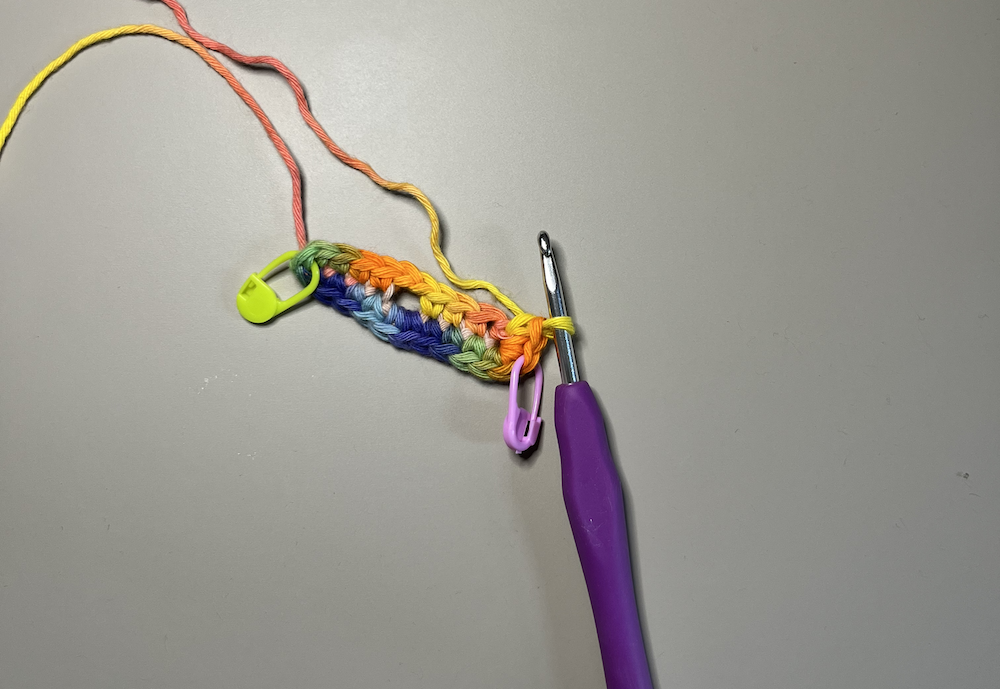
This is a free pattern I put together - a simple headphones case, adaptable to any size. It’s a beginner-friendly project, and a great way to use up leftover yarn. As long as you’ve got the basics; single crochet, chain and slip stitch, you should have no problems at all with this! It can be easily adapted to fit headphones cases of any size, and you can use any yarn you like - just choose a hook to fit the yarn you’re using. I’ve personally made these with aran (worsted) and DK weight cotton yarn, and both came out great! I also love the idea of decorating with buttons, beads, tassels, crochet applique or anything else you can think of.
Jump to:
Materials
- Yarn - I used Hobbii Rainbow 8/8 (8-ply DK, on the thicker side of DK). Use any yarn you like, just choose a hook to fit. Cotton works well for this as it’s not very stretchy, consider that other yarns may stretch out more with use.
- Hook - 3.5-4mm crochet hook (use what your yarn recommends)
- Stitch Markers - or you can use safety pins/scrap thread; anything to keep track of where you’re increasing
- Darning needle - for weaving in the ends
- Scissors
Stitches/Abbreviations (US terms)
- ch - chain
- chsp - chain space
- st/sts - stitch/stitches
- slst - slip stitch
- sc - single crochet
- 3scinc - 3 single crochet increase, 3 sc into same st
Pattern Notes
- This pattern is worked in the round, so you won’t be turning your work at the end of each row.
- I have included stitch counts at the end of each instruction in (bold brackets) - this is based on my yarn & hook choice, these will differ if you use a different yarn/hook.
- I have used US terminology throughout this pattern.
The Pattern
Starting Chain & Row 1
- ch an even number that fits the bottom of your headphones case, plus 1 additional chain (ch11)
- sc into the second st from the hook. sc along the ch until the middle 2 sts (back bumps of ch) (sc4)
- (Optional) make a gap for the charging cable by chaining 2; or chain as many are needed to create a suitable gap (ch2)
- Skip 2 sts, sc into the next st and until the 2nd-last st in chain (skip2, sc3)
- Place 3 sc into last st in chain (3scinc)
- Place st marker into the middle of the 3 sts


Row 2
- Turn your work 90° to work along the other side of the chain; sc into next sts along the second side, stopping at the ch2 sp (sc3)
- 2 sc into the ch2 sp (sc2)
- 3 sc into next 3 sts (sc3)
- 3 sc into the same st (last st of row) - st marker into the middle st (3scinc)
- Turn 90° to work down the other side


Row 3
- Continue to sc around until the ch2 sp (sc4)
- 2 sc into the ch2 sp (sc2)
- Continue to sc in each st until the st marker (sc4)
- 1 more increase on this side - remove st marker & 3 sc into the same st (3scinc)
- Turn 90° to work down the other side

Row 4
- sc all the way along the row until the st marker (11sc)
- 1 more increase on the second side - remove st marker & 3 sc into the same st (3scinc)
- Turn 90° to work down the other side

Row 5 -> desired height
- sc all the way along the row, & continue to sc in the round - building the height for your case - no more increases
- Keep checking to see the fit!
- I ended with 11 rows from starting ch
- Next, we will add 2 more rows for a strap & a hole for strap to pass through to secure the headphones

Last 2 rows - Hole for Strap
- find the centre 2 sts (for me the st count wasn’t even, so I eyeballed it) - cont. sc until these 2 sts
- ch2, skip centre 2 sts, sc into next st to create a chsp gap (ch2, skip2)
- sc all the way back around to the ch2 sp (sc around)
- 2 sc into the ch2 sp, continue to sc to the other side of the case, opposite the hole (2sc in chsp, sc around)


Last 2 rows - Strap
- ch35 (approx. - make as long as you want it to be, we will fold it in half to make a strap) (ch35)
- (Option 1)
- Leave as a chain, sc into next st on the case to attach the strap & sc into the next 6 sts (sc7)
- (Option 2)
- ch1 & slst into the second back bump of ch & every st of ch to fortify the strap (ch1, slst35)
- Insert hook into next st on case, insert through ch1 sp @ end of strap & sc to secure (sc1)
- sc into next 6 sts (sc6)
- invisible fasten-off & weave in the ends!


Voila!
Make it with any yarn & matching hook for any headphones - just measure as you go & play with the increases at the bottom if needed.


